All Naruto deck guides
NARUTO: Ninja Cards · Deck Guide

immortal-tsunade-deck-guide

Build around Tsunade – Mitotic Regeneration and make her incredibly difficult to remove. This defensive deck combines healing, Guard and Chakra support to keep Tsunade alive while turning repeated damage into even more value.

Published September 12, 2026 · Updated September 12, 2026 · 10 / 10 cards
immortal-tsunade-deck-guide featured image

Decklist

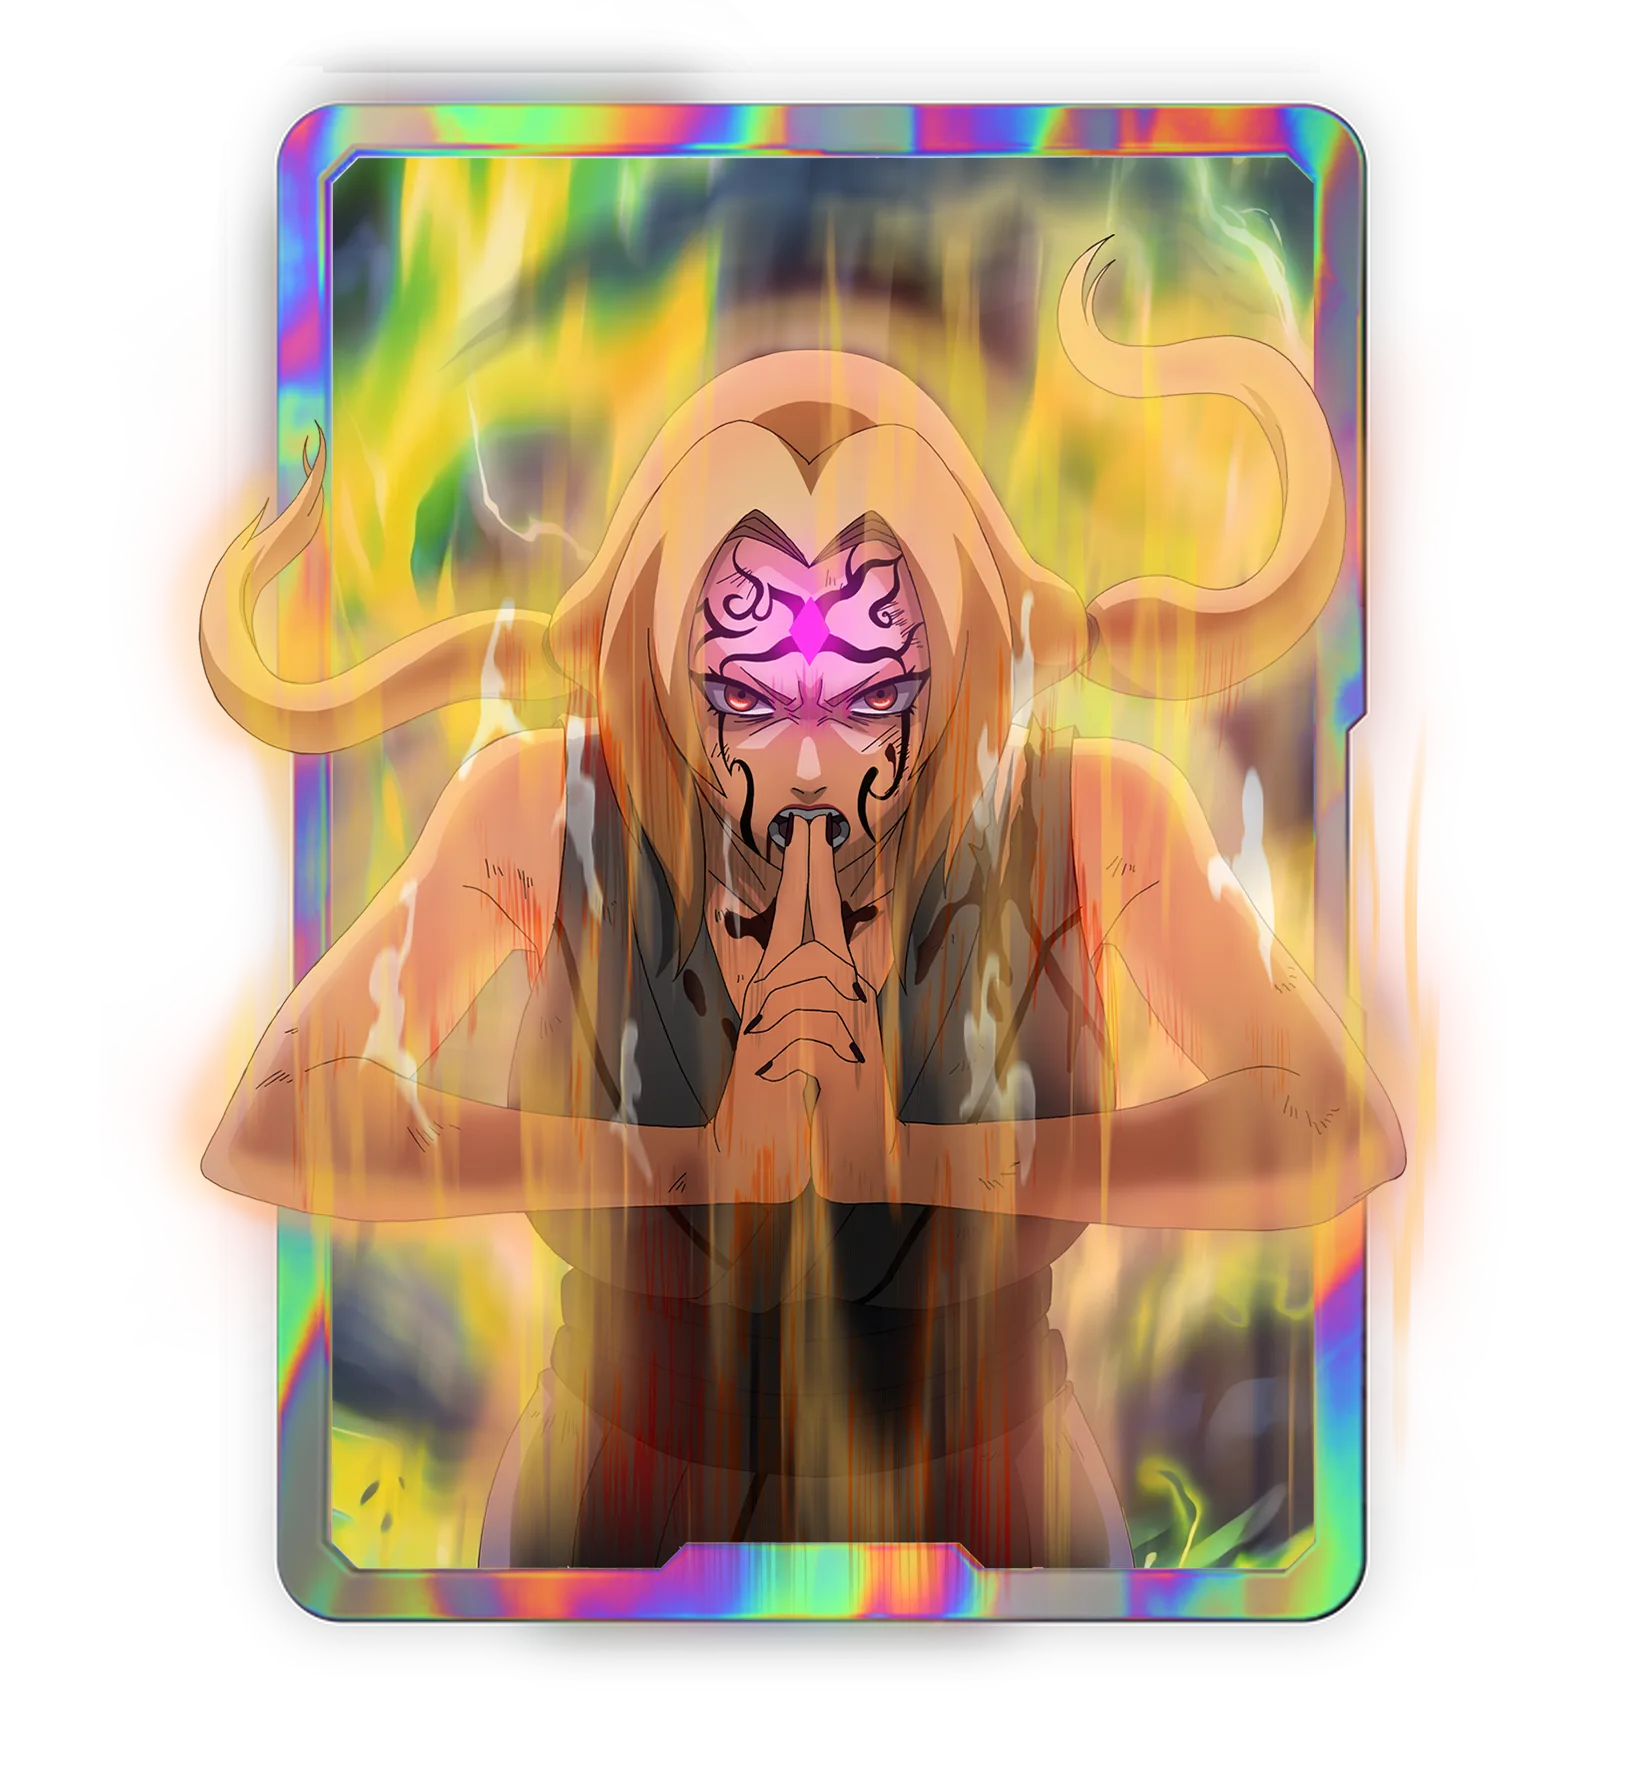
Tsunade
Tsunade
S3 · #097 · Legendary · Chakra 6
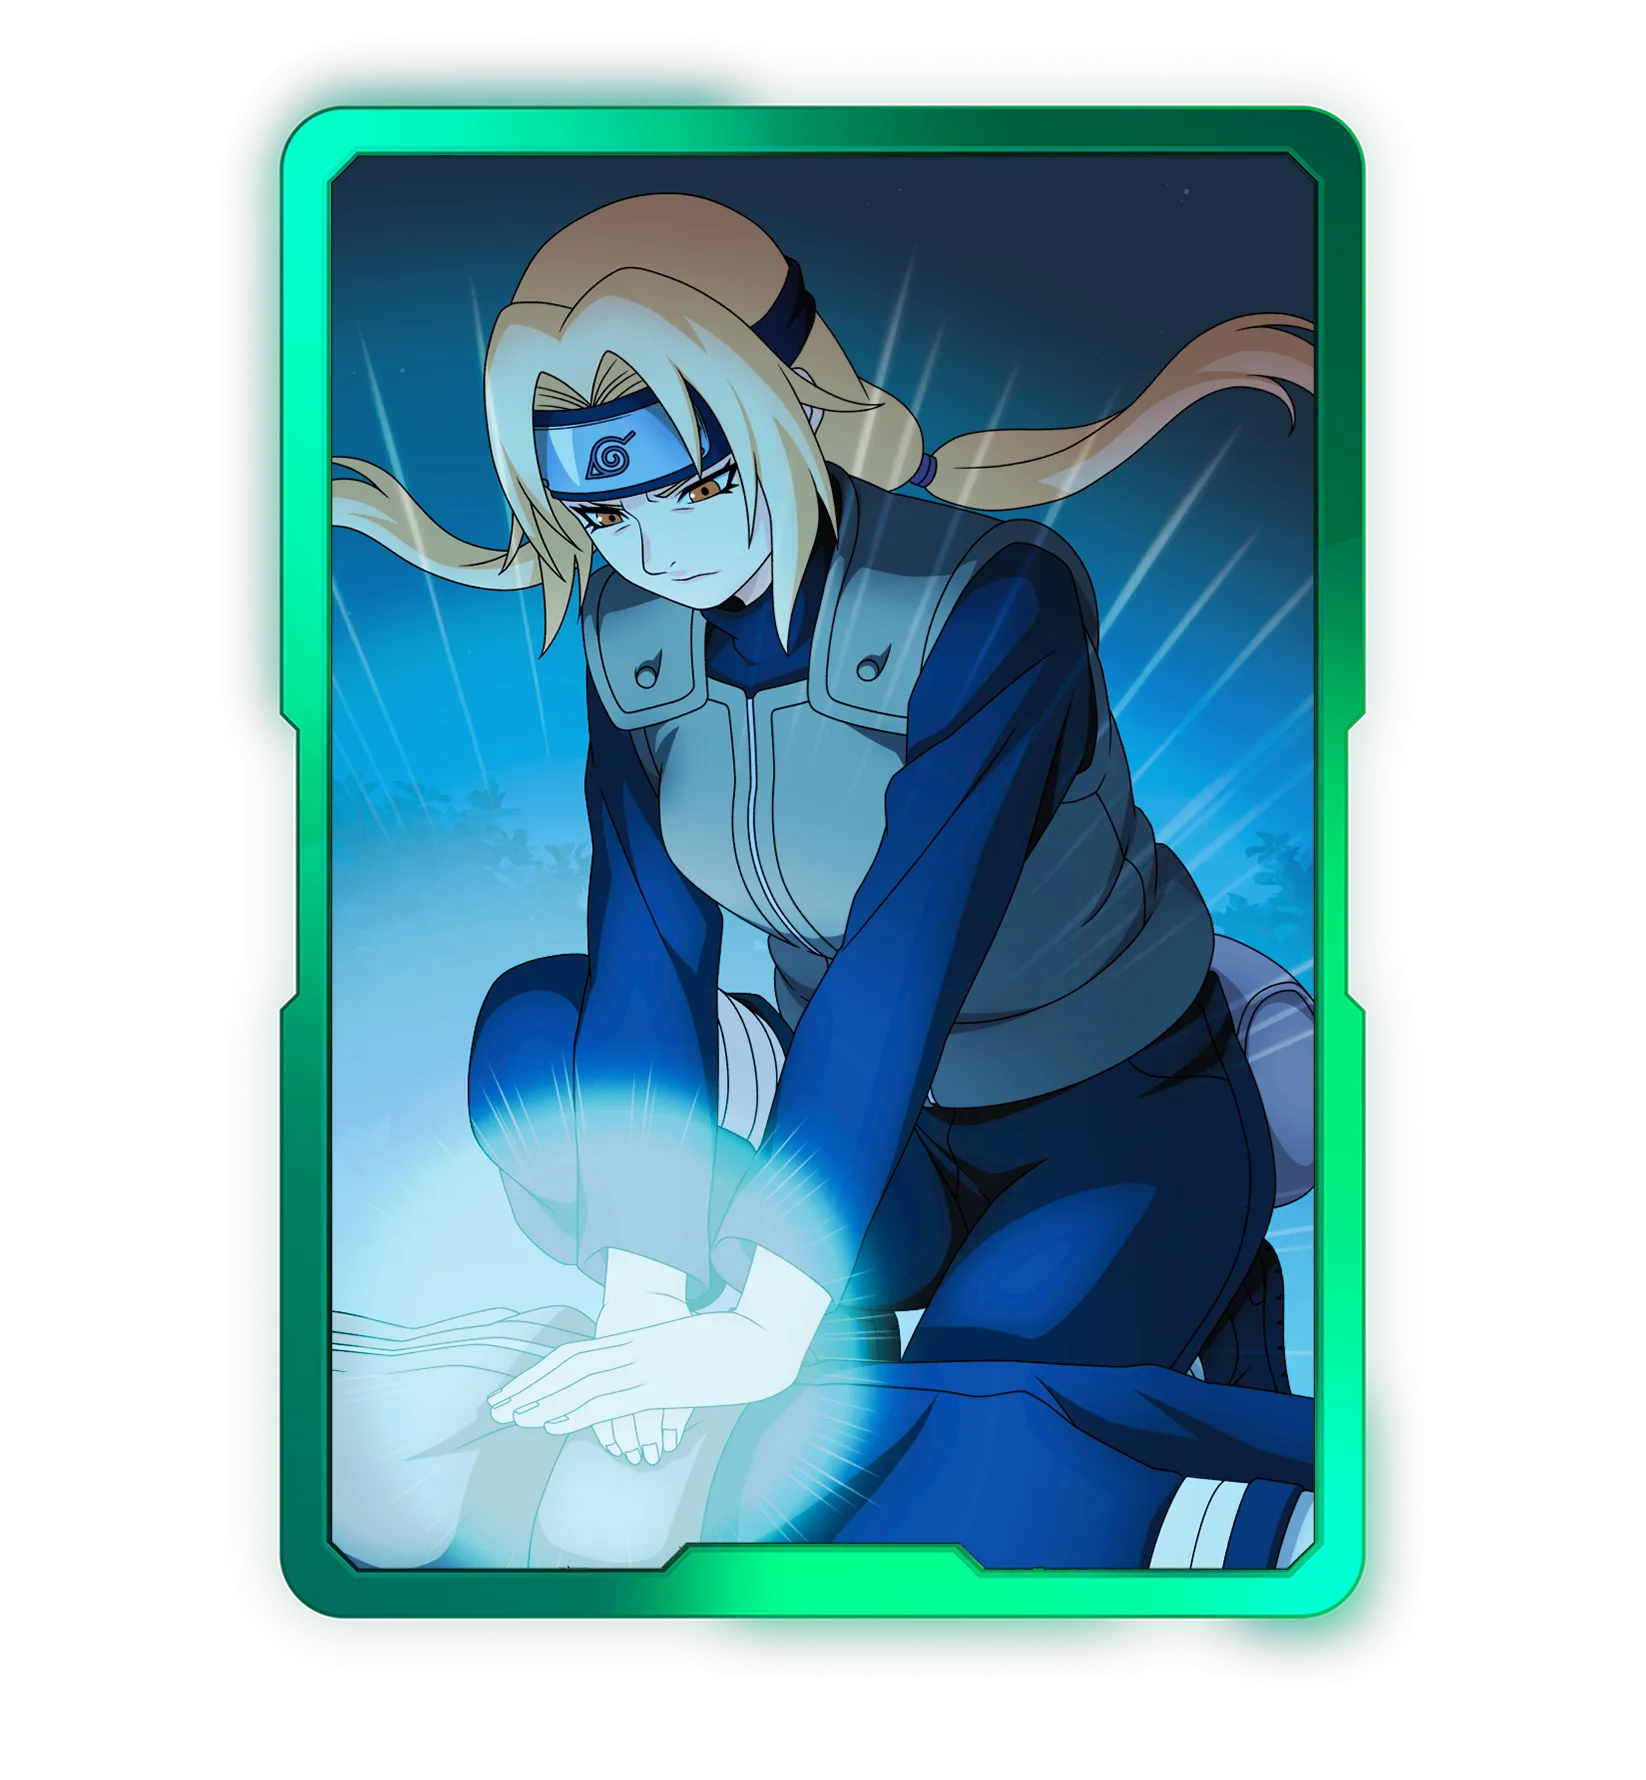
Tsunade
Tsunade
S3 · #060 · Rare · Chakra 6
Tsunade
Tsunade
S3 · #062 · Rare · Chakra 4
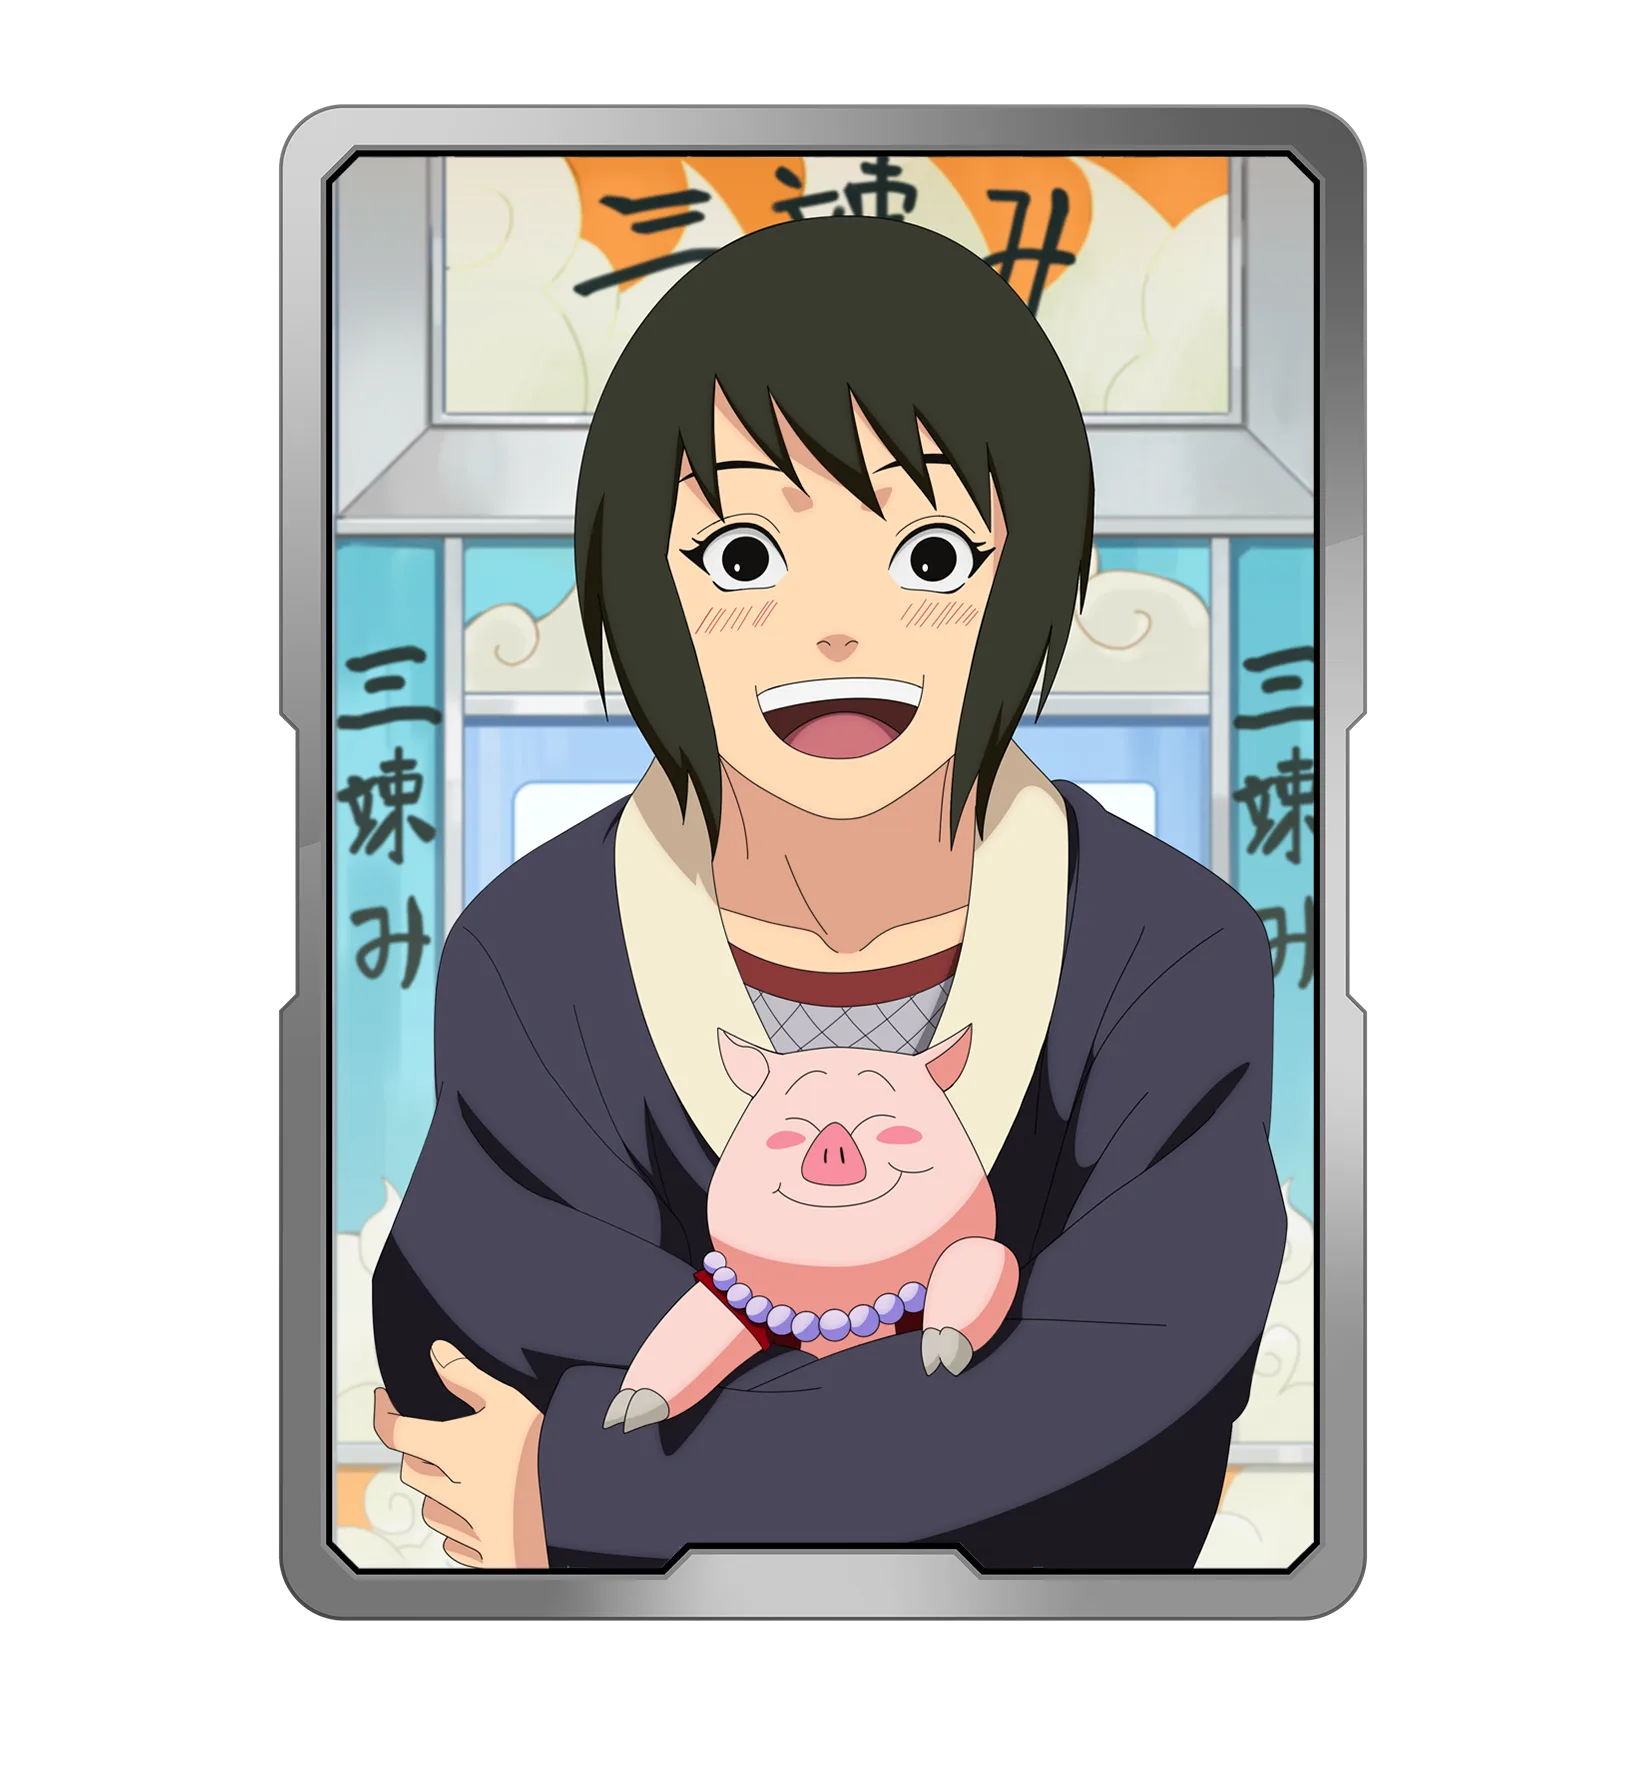
Shizune
Shizune
S3 · #027 · Common · Chakra 5
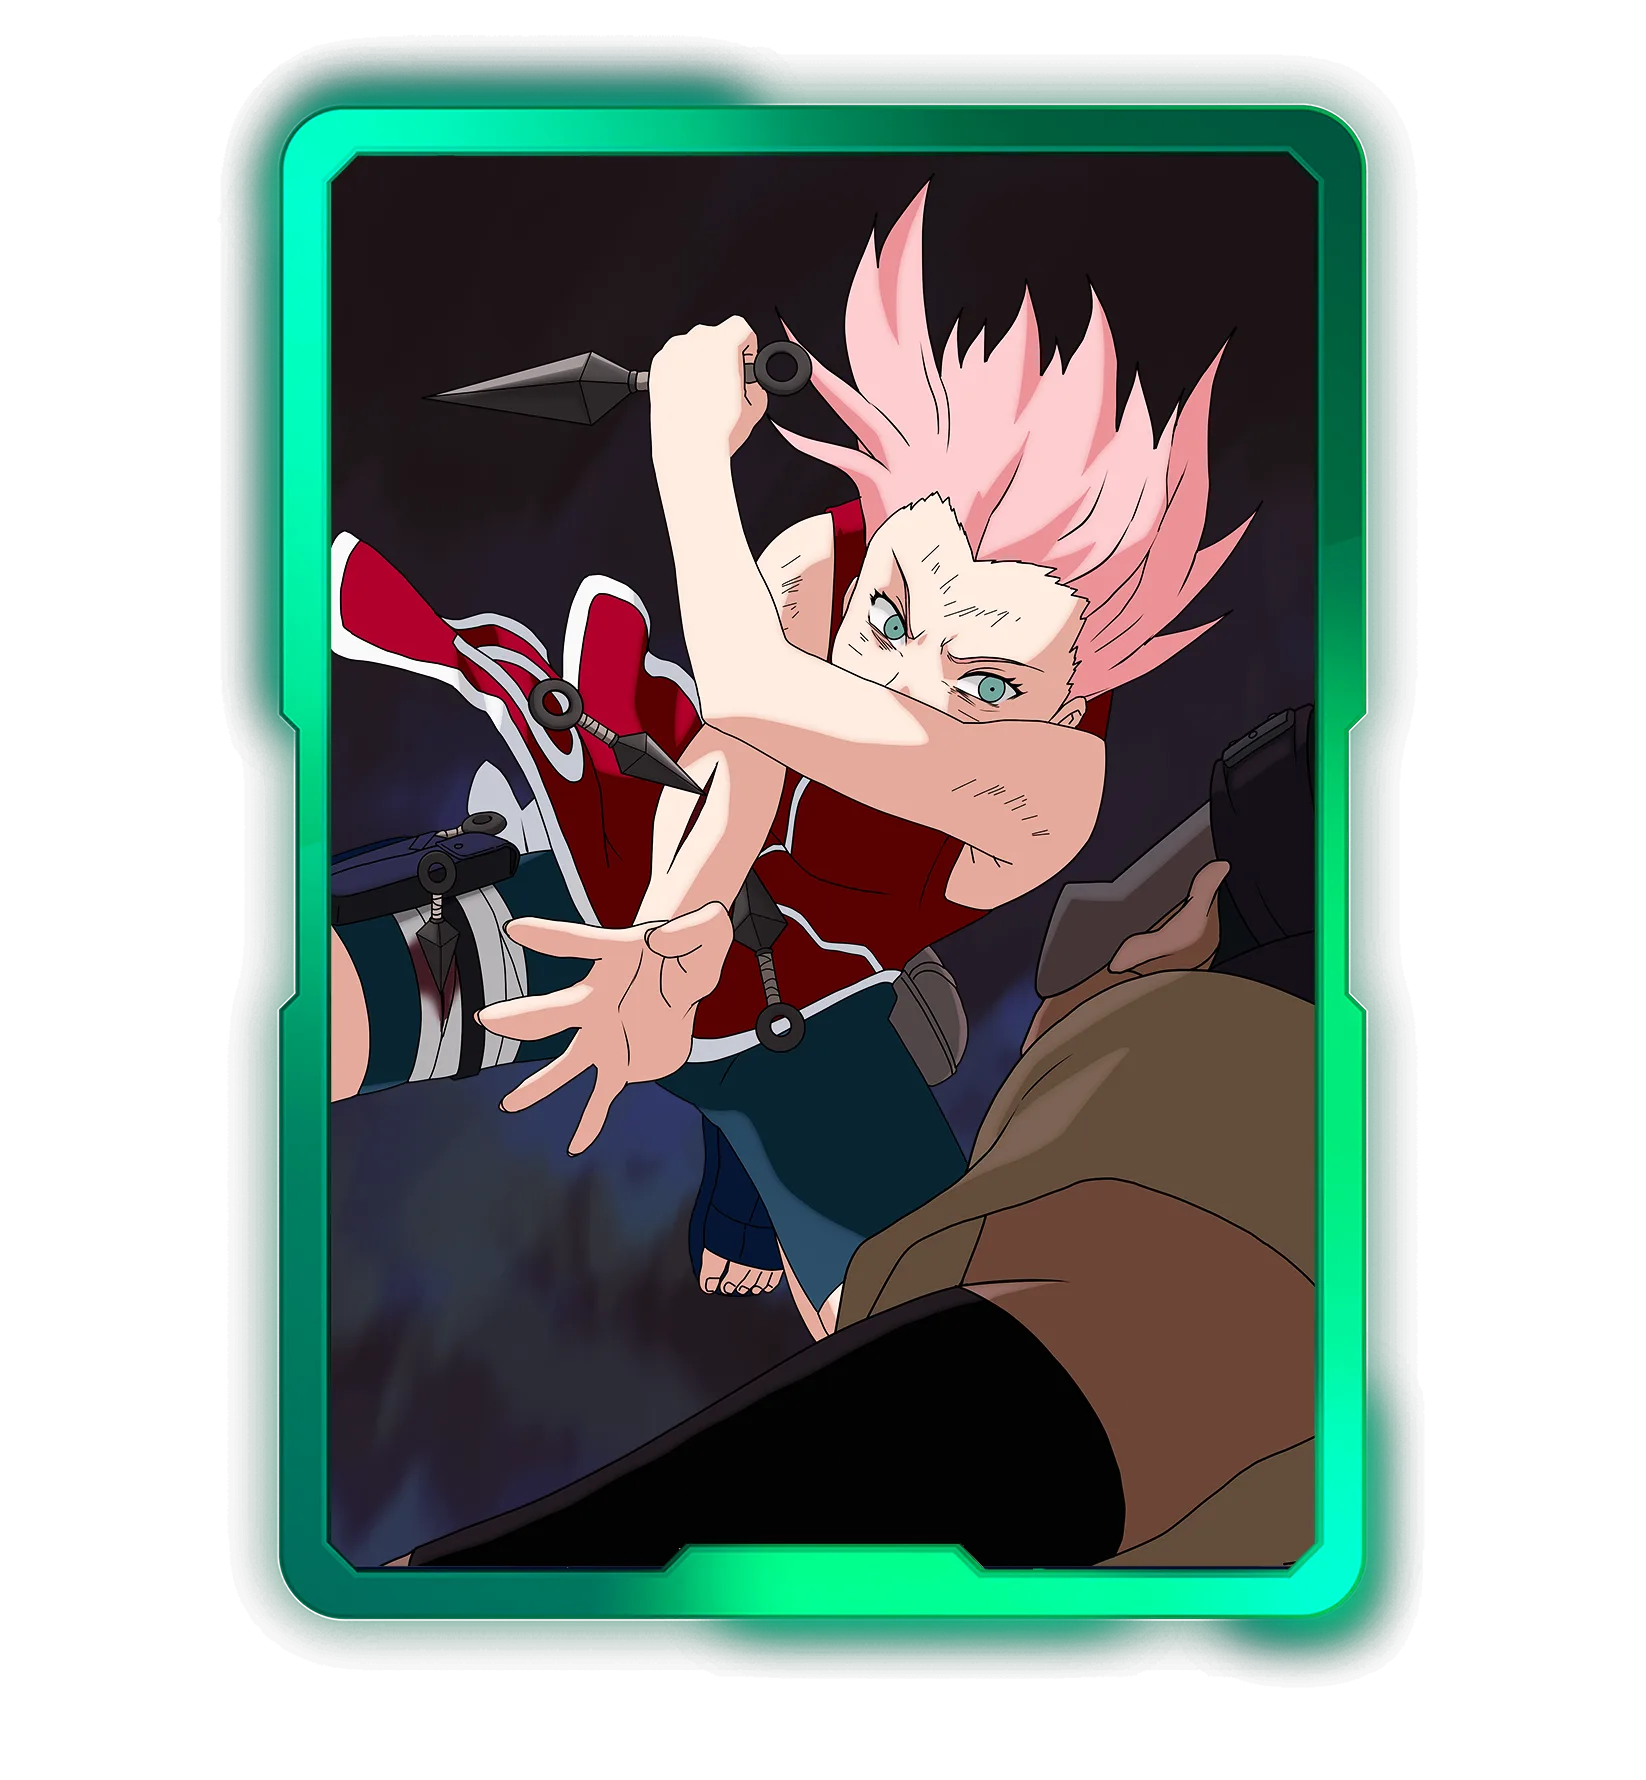
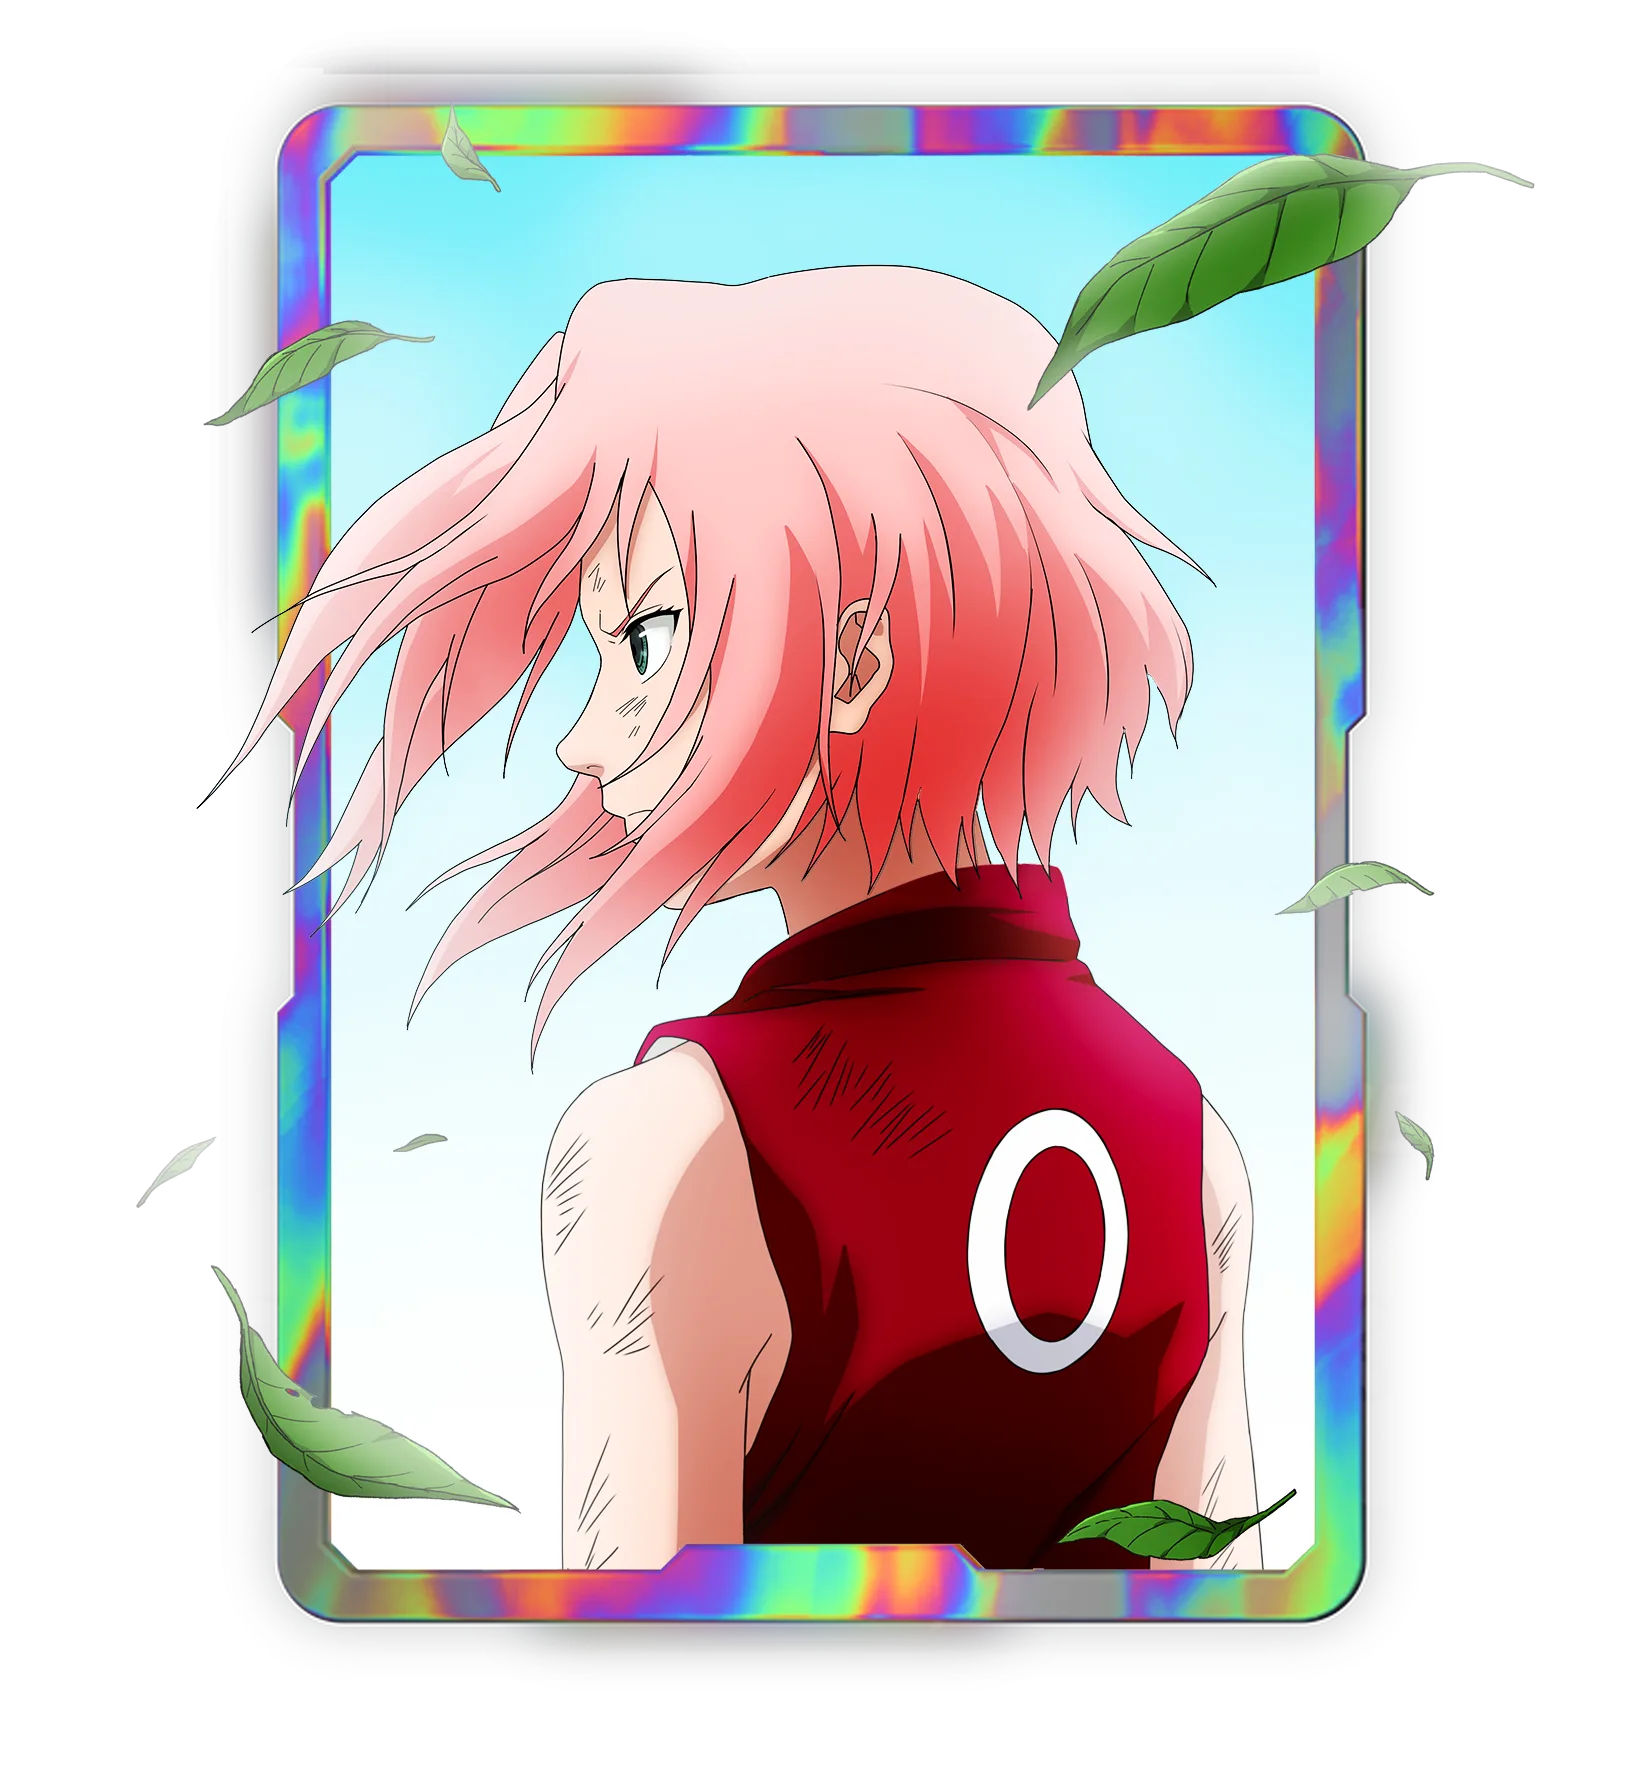
Sakura Haruno
Sakura Haruno
S2 · #052 · Rare · Chakra 2
Gaara
Gaara
S3 · #078 · Epic · Chakra 3
Homura Mitokado
Homura Mitokado
S2 · #036 · Common · Chakra 1
TSUNAMI
TSUNAMI
S1 · #024 · Common · Chakra 1
NARUTO UZUMAKI
NARUTO UZUMAKI
S1 · #044 · Rare · Chakra 1
Sakura Haruno
Sakura Haruno
S2 · #093 · Legendary · Chakra 2
Chakra Chart
Cards per Chakra cost
10 cards
  • 1 Chakra
    3 cards
  • 2 Chakra
    2 cards
  • 3 Chakra
    1 card
  • 4 Chakra
    1 card
  • 5 Chakra
    1 card
  • 6 Chakra
    2 cards
Build your own version
Open the NARUTO: Ninja Cards Deck Builder

Guide

This deck is built around one simple idea: make Tsunade as difficult to remove as possible.

The centerpiece is Tsunade – Mitotic Regeneration. The first time she drops below her base Chakra, she starts healing 2 Chakra every second and ignores rival skills for 10 seconds.

Instead of trying to prevent that threshold from ever happening, this deck is designed to get as much value as possible once Mitotic Regeneration activates.

The rest of the deck provides healing, Chakra, Guard and defensive support to keep your important cards active for as long as possible.

Tsunade – The Fifth gives the deck another major source of sustain. She grants Chakra to your allies on deployment, and while she remains active, allied Weaken effects can trigger additional healing.

Meanwhile, cards such as Sakura – Unyielding and Gaara – Sand Shield give the deck additional Guard-based defensive tools, making it harder for the opponent to simply overpower your board.

This isn't a deck built around winning as quickly as possible. It's about surviving pressure, recovering Chakra and forcing the opponent to work incredibly hard for every withdrawal.

Strategy — how the deck works

1. Build Around Mitotic Regeneration

Tsunade – Mitotic Regeneration is the main card the deck is built around.

Her effect activates the first time she drops below her base Chakra:

Heal(2) every second and ignore rival skills for 10 seconds.

That creates a powerful recovery window.

Importantly, the goal isn't necessarily to keep Tsunade permanently at full Chakra. You want to be ready to capitalize on the moment her Chakra drops below the threshold and her regeneration begins.

There is also a long-term cost: when Mitotic Regeneration withdraws, her base Chakra is permanently reduced by 1. Protecting her and getting maximum value from each deployment therefore matters.

2. Stack Healing and Chakra Support

The deck contains several ways to keep its board alive and recover resources.

Tsunade – The Fifth grants Chakra(+1) to all allies when deployed. While she is active, allied Weaken effects also trigger Heal(2), giving the deck another way to recover damaged cards.

Tsunami – Hospitality provides cheap Chakra support by giving Chakra(+1) to two allies on her lane.

Together, these effects help your important cards stay above withdrawal range and force the opponent to commit more resources to removing them.

3. Shizune Supports Tsunade

Shizune – Devoted Pig provides another direct Tsunade interaction.

On deployment, Shizune summons Tonton with Chakra(1) and Rush(5s) on the same lane as an allied Tsunade.

If Tonton reaches Tsunade, she gains Chakra(+3) before Tonton withdraws.

That gives the deck another way to refill Tsunade after she has taken damage and helps extend the amount of time she can remain active.

4. Sakura Adds a Permanent Guard Threat

Sakura – Unyielding is a much better fit for this version of the deck.

She has Permanent Guard, and every time Guard activates:

Sakura gains Chakra(+1) Sakura switches lanes

This makes her another frustrating defensive card that can repeatedly generate value while surviving encounters.

She doesn't need to directly interact with Tsunade to be useful. Her job is to reinforce the overall defensive game plan and give the opponent another card that isn't easy to efficiently remove.

5. Gaara Adds More Guard

Gaara – Sand Shield gives the deck another defensive body with Guard(2).

Whenever his Guard activates, he gains Chakra(+1).

Like Sakura, Gaara rewards the deck for surviving interactions instead of simply racing forward. This helps create a board where several cards can absorb pressure while generating additional Chakra.

6. Homura Helps Protect Key Cards

Homura – Reassurance gives the next allied card:

Guard(1) + Chakra(+1)

This is particularly useful when you know which important card you want to protect next. Rather than deploying Homura randomly, use him to prepare a valuable follow-up.

7. Keep Cheap Utility Available

Not every card needs to be another expensive healing payoff.

Naruto – Sexy Jutsu provides cheap Pin interaction for only 1 cost, while the lower-cost support cards help keep the deck functional without filling your hand with expensive Tsunades.

This matters because the core cards are already relatively expensive.

Strengths

  • Excellent sustain — Multiple sources of healing and Chakra recovery can make important cards difficult to finish off.
  • Mitotic Regeneration is difficult to pressure normally — Once activated, Tsunade heals rapidly while ignoring rival skills for 10 seconds.
  • Strong defensive bodies — Sakura – Unyielding and Gaara – Sand Shield add Guard without requiring the entire deck to revolve around them.
  • Multiple Tsunade support options — Shizune, The Fifth and other support cards help extend Tsunade's time on the board.
  • Good attrition potential — The opponent may need to commit significantly more pressure than usual to secure withdrawals.
  • Cheap utility around an expensive core — Homura, Tsunami, Sakura and Naruto help balance the higher-cost Tsunade cards.

Weaknesses

  • Expensive core cards — Both Mitotic Regeneration and The Fifth cost 6, so poor sequencing can leave the deck awkward to deploy.
  • Mitotic Regeneration needs to cross its threshold — Her main regeneration effect doesn't simply start immediately on deployment.
  • Permanent downside on withdrawal — Mitotic Regeneration permanently loses 1 base Chakra when she withdraws.
  • Healing doesn't automatically create pressure — Staying alive is valuable, but the deck still needs to turn that durability into meaningful board progress.
  • Support timing matters — Cards such as Homura and Shizune are much stronger when their effects are lined up with the correct Tsunade.
  • Can become too defensive — If too many support cards are deployed without advancing the board, the opponent can potentially gain tempo elsewhere.

Matchup & gameplay notes

Early Game

Don't force the expensive Tsunades immediately if your setup doesn't support them.

Use your cheaper cards to establish the board and prepare defensive resources. Homura – Reassurance can set up Guard and Chakra for an important follow-up, while Tsunami provides inexpensive Chakra support.

Mid Game

This is where you want to establish one of the Tsunades and begin creating the sustain engine.

If Mitotic Regeneration drops below base Chakra, her 10-second regeneration window becomes the key moment to exploit.

Don't panic simply because her Chakra starts dropping — crossing that threshold is what activates the card's defining effect.

Late Game

The objective is to make every attempt to remove your important cards inefficient.

Repeated healing, Guard and Chakra recovery can force the opponent to invest multiple effects into cards that would normally have already withdrawn.

Just remember that Mitotic Regeneration permanently loses 1 base Chakra when she withdraws, so repeated withdrawals change her long-term value.

Gameplay video