







All Naruto deck guides
NARUTO: Ninja Cards · Deck Guide

Edo Tensei Orochimaru Deck Guide

Build around Orochimaru – Edo Tensei and turn allied withdrawals into powerful Edo summons. Prepare Orochimaru with the Sound Four, sacrifice low-Chakra allies and bring Hashirama and Tobirama onto the battlefield with Rush.

Published September 5, 2026 · Updated September 5, 2026 · 10 / 10 cards
Edo Tensei Orochimaru Deck Guide featured image

Decklist

Orochimaru
Orochimaru
S2 · #086 · Epic · Chakra 6
Hashirama Senju
Hashirama Senju
S2 · #068 · Rare · Chakra 5
Tobirama Senju
Tobirama Senju
S2 · #069 · Rare · Chakra 5
Jirobo
Jirobo
S2 · #046 · Common · Chakra 3
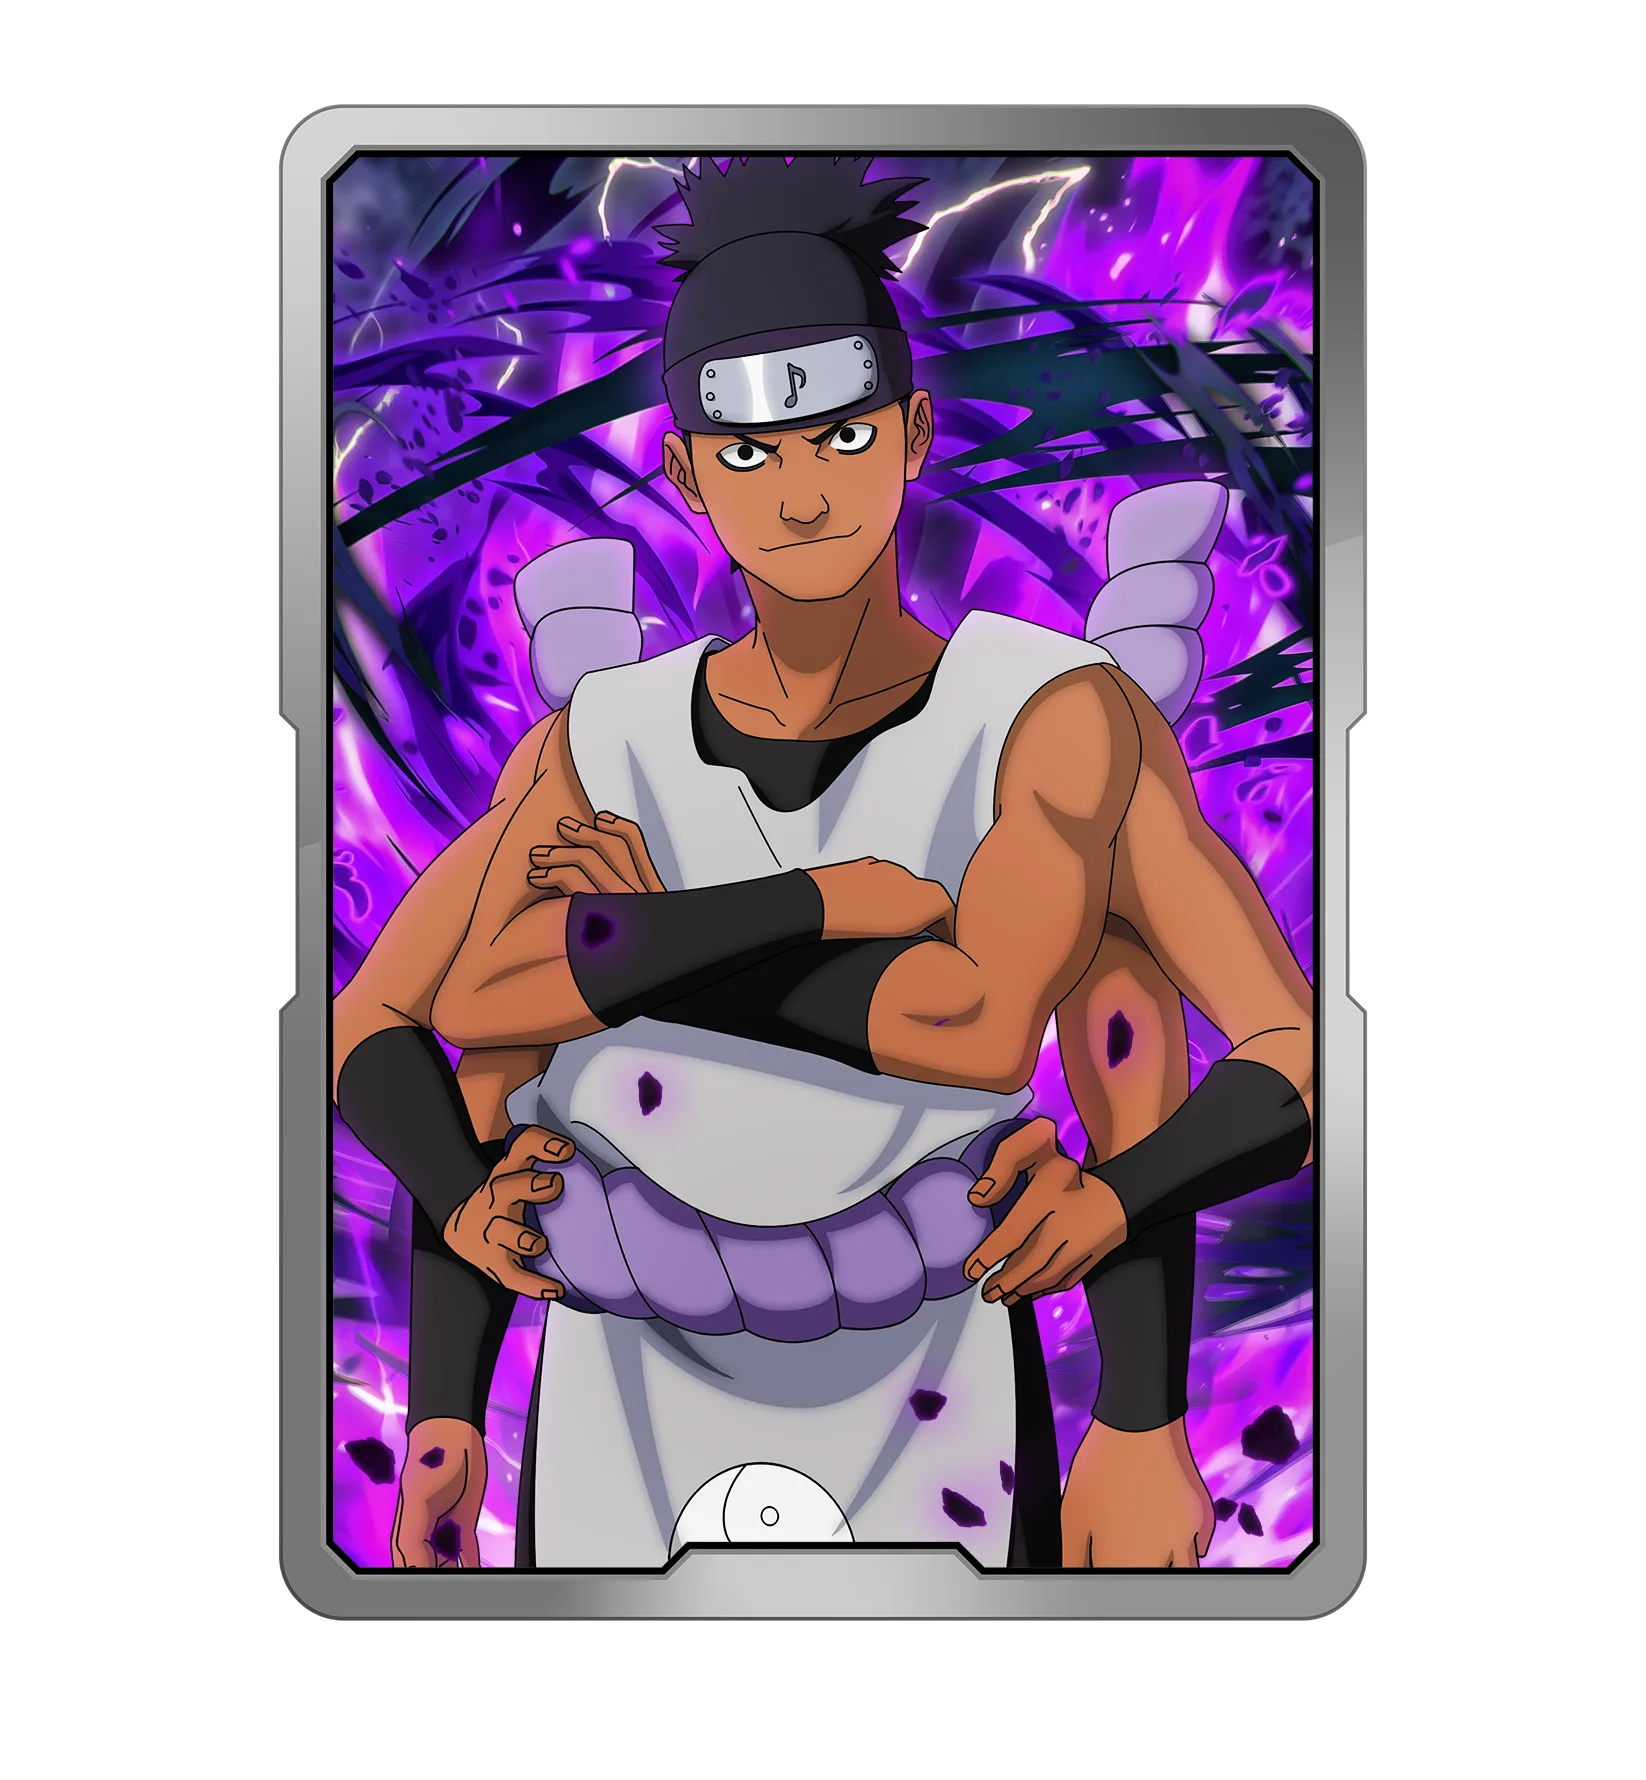
Kidomaru
Kidomaru
S2 · #047 · Common · Chakra 3
Tayuya
Tayuya
S2 · #049 · Common · Chakra 3
Sakon
Sakon
S2 · #048 · Common · Chakra 3
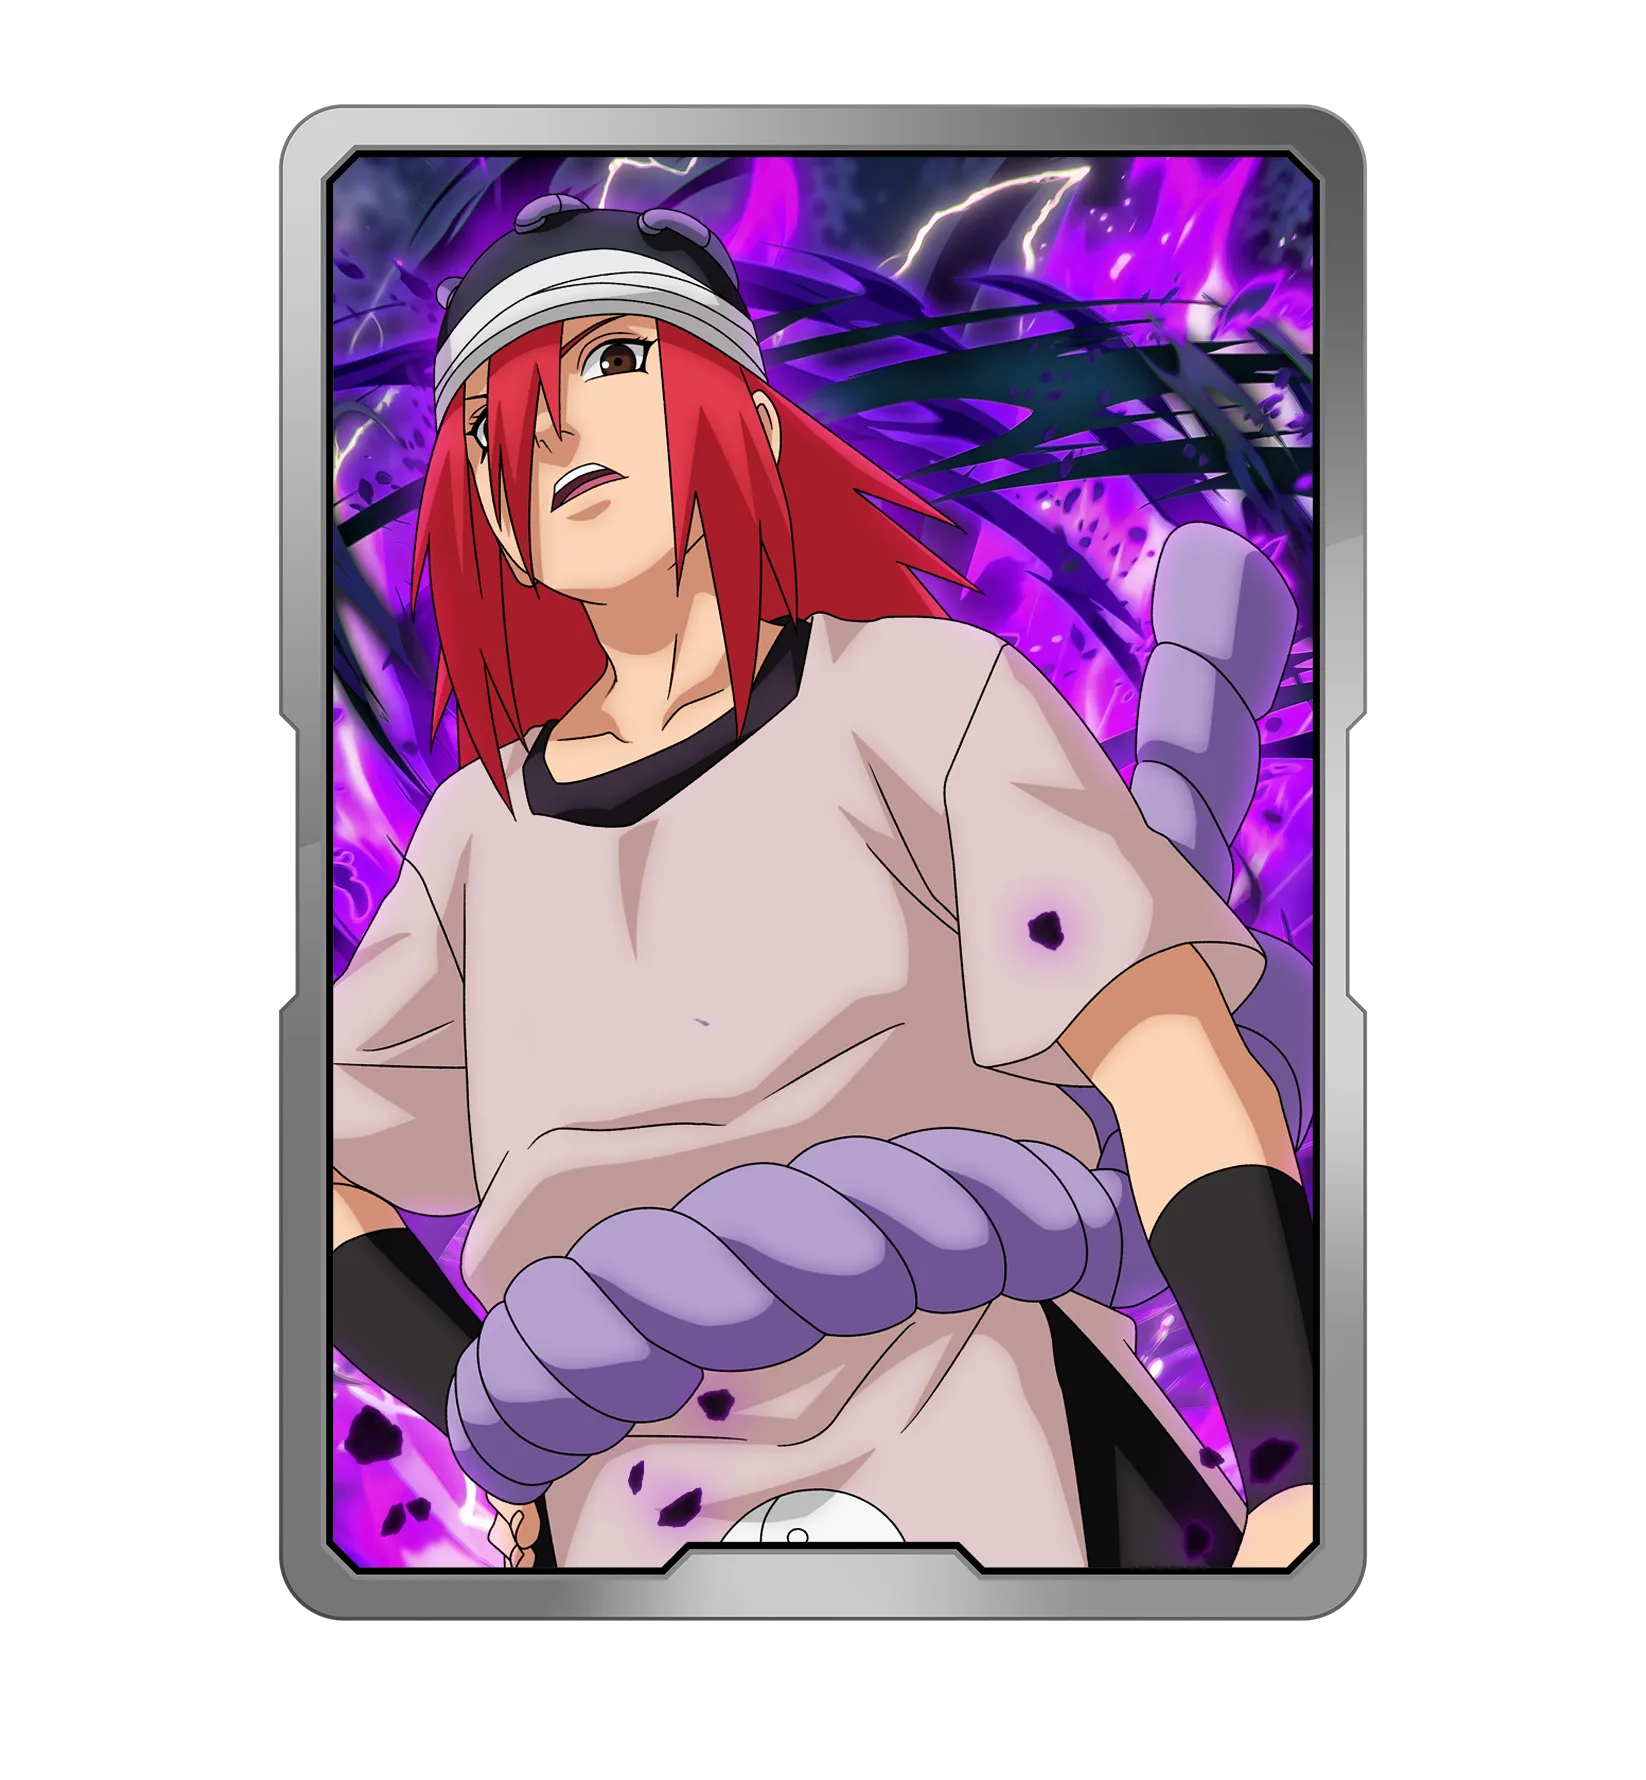
Orochimaru
Orochimaru
S3 · #011 · Common · Chakra 2
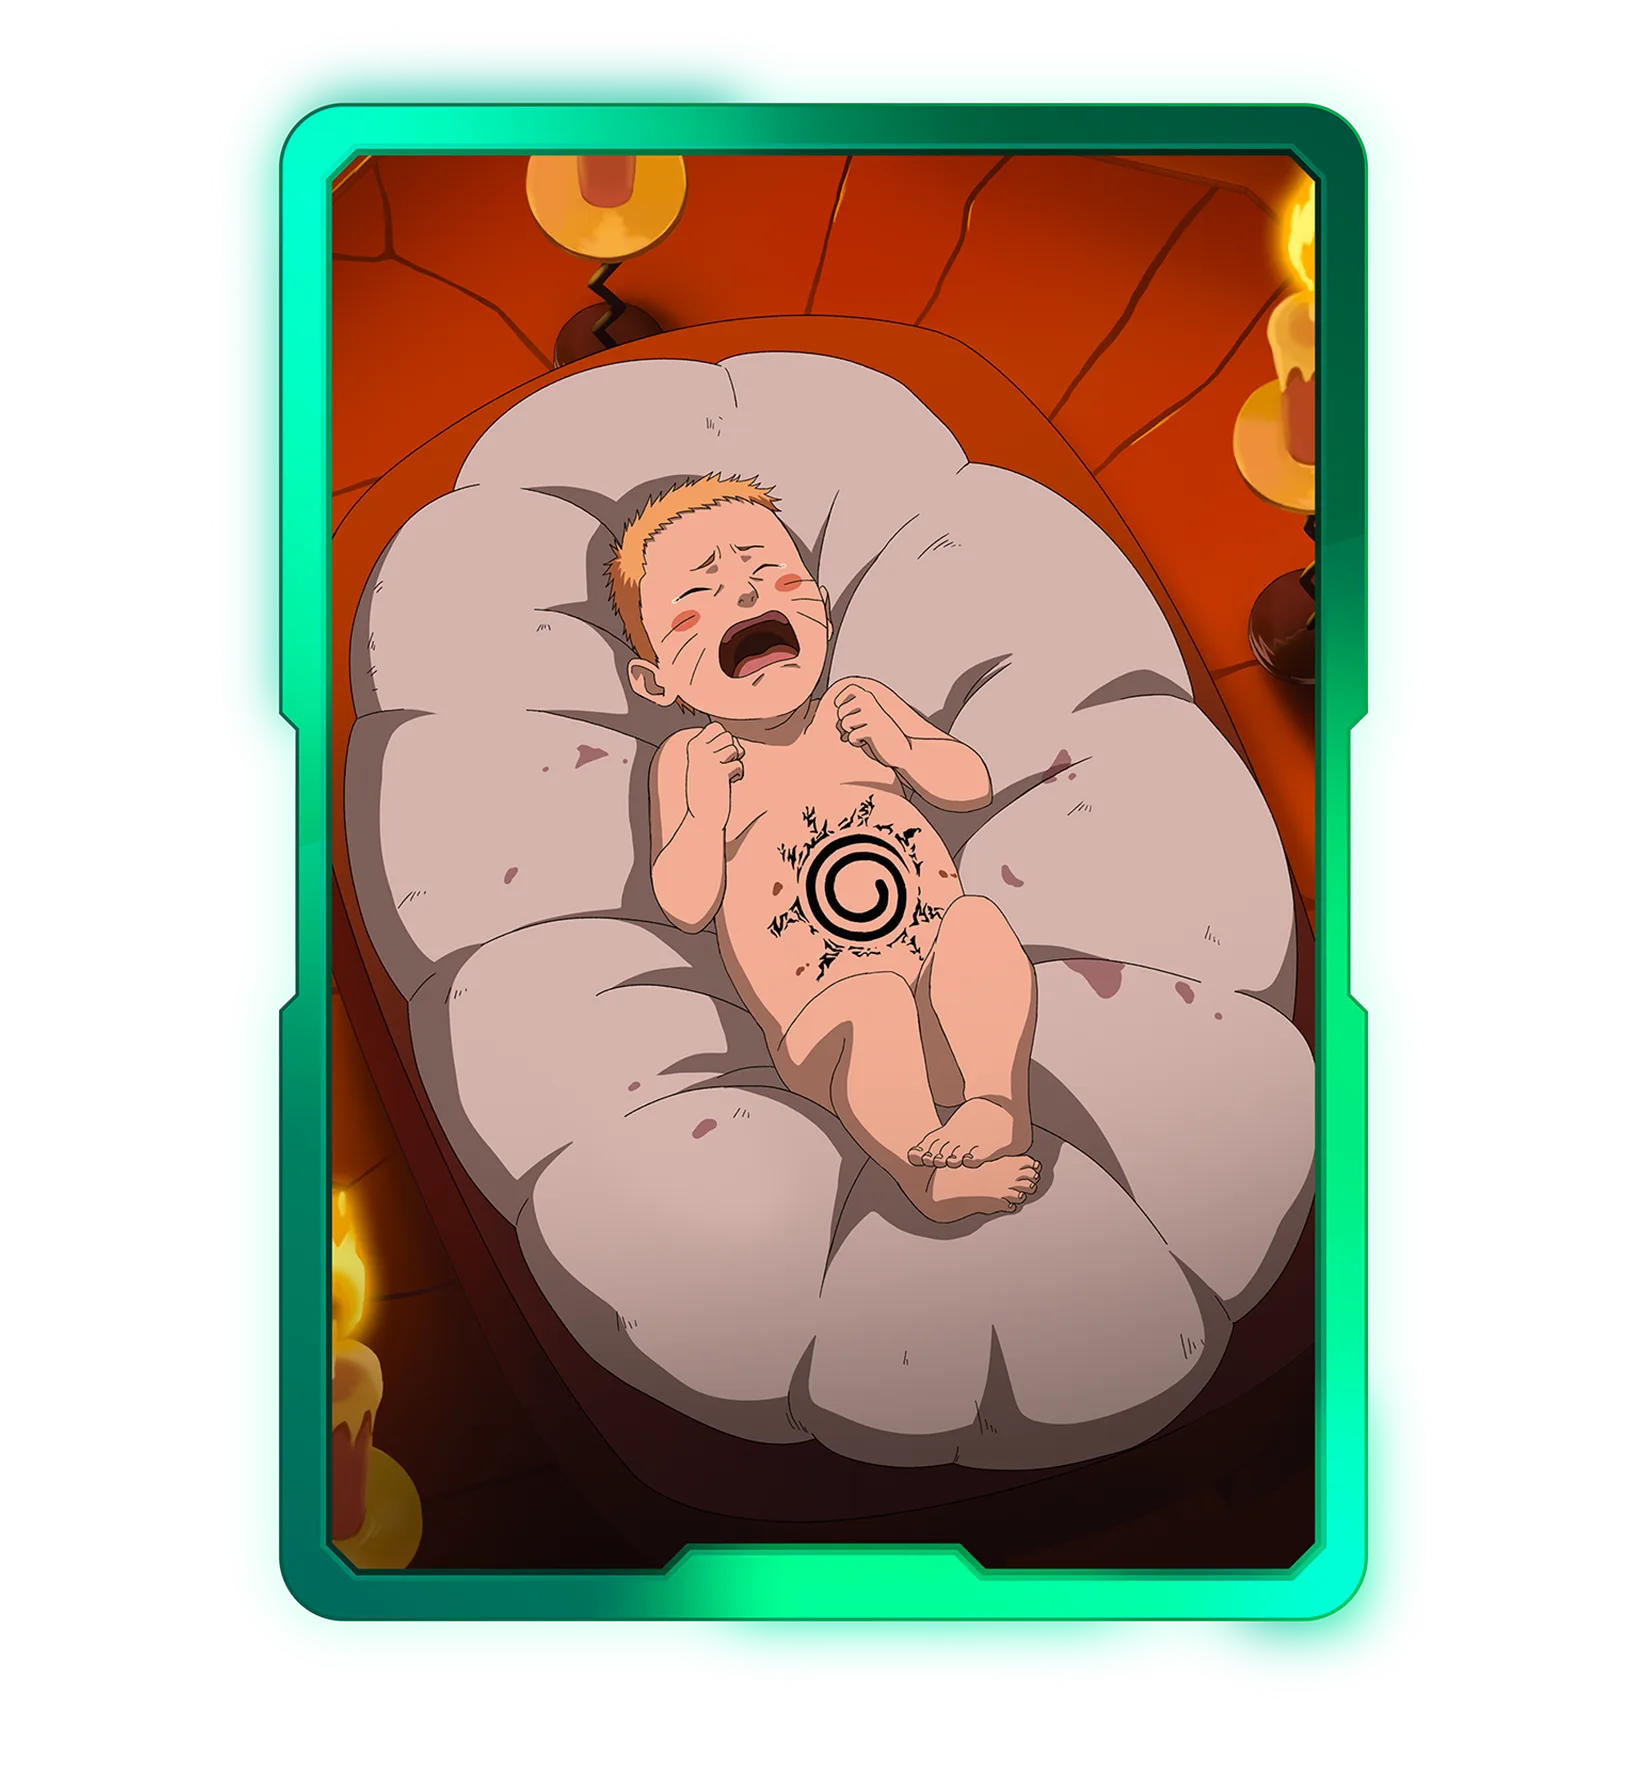
NARUTO UZUMAKI
NARUTO UZUMAKI
S1 · #042 · Rare · Chakra 1
KAIZA
KAIZA
S1 · #019 · Common · Chakra 2
Chakra Chart
Cards per Chakra cost
10 cards
  • 1 Chakra
    1 card
  • 2 Chakra
    2 cards
  • 3 Chakra
    4 cards
  • 5 Chakra
    2 cards
  • 6 Chakra
    1 card
Build your own version
Open the NARUTO: Ninja Cards Deck Builder

Guide

The Edo Tensei Orochimaru deck is built around turning your own allied withdrawals into a powerful summon engine.

Orochimaru – Edo Tensei is the centerpiece of the deck. When deployed, he applies Weaken(2) to the two allies with the lowest Chakra. For each withdrawal caused during this setup, he can Summon Edo Hashirama and Tobirama from your deck and grant them Rush(3s).

Instead of treating those allied withdrawals as a pure downside, the deck includes cards that can generate additional value when they leave the battlefield. Naruto Uzumaki – Defenseless can Weaken a rival card on withdrawal, while Kaiza – Martyr gives Chakra to allied cards on his lane.

The Sound Four provide another important part of the strategy. Jirobo, Kidomaru, Tayuya and Sakon can all prepare your next Orochimaru with different bonuses, allowing you to build toward a much stronger Edo Tensei deployment.

Once Hashirama and Tobirama enter the battlefield, their Edo Regeneration skills help them recover Chakra when they fall below their base Chakra. Combined with the Rush granted by Edo Tensei, they can immediately turn your setup into pressure.

This makes the deck a combination of setup, sacrifice and explosive summoning. The key is choosing the right moment to deploy Orochimaru so that his Edo Tensei effect creates as much value as possible.

Strategy — how the deck works

Your main objective is to prepare Orochimaru – Edo Tensei while creating a board where his Weaken effect can convert low-Chakra allies into valuable withdrawals.

The Sound Four are your primary setup engine. Each one prepares the next Orochimaru you deploy with a different bonus:

Jirobo – South gives the next Orochimaru Chakra(+3).

Kidomaru – East gives the next Orochimaru Rush(+4s).

Tayuya – North gives the next Orochimaru Guard(1).

Sakon – West makes the next Orochimaru Weaken(3) the closest rival card.

You do not necessarily need every Sound Four effect before deploying Orochimaru. The important decision is whether waiting for additional setup is worth delaying your Edo Tensei play.

Orochimaru – Edo Tensei applies Weaken(2) to your two allies with the lowest Chakra when deployed. This makes your board state extremely important. Ideally, you want low-Chakra cards in position that can be converted into withdrawals rather than weakening an important card you want to keep active.

Naruto Uzumaki – Defenseless is particularly interesting because he applies Weaken(3) to a rival card when he withdraws. Kaiza – Martyr instead gives Chakra(+1) to lane allies when withdrawing. Both cards can therefore create additional value if they are among the allies lost during your Edo Tensei setup.

For each relevant withdrawal, Edo Tensei can Summon Edo Hashirama and Tobirama from your deck and grant them Rush(3s). This is the deck's biggest tempo swing: your own board loses cards, but those withdrawals can immediately be converted into powerful new threats.

Hashirama Senju – Edo Regeneration and Tobirama Senju – Edo Regeneration both regain Chakra(+1) every four seconds while below their base Chakra until they return to it. This gives the summoned Edo cards some built-in recovery after they enter play.

Orochimaru – Guarded provides a cheap secondary Orochimaru target for your Sound Four effects when an Edo Tensei play is not currently available. Because the Sound Four specifically prepare your next Orochimaru, managing which Orochimaru you deploy next is an important part of piloting the deck.

The strongest turns come from planning several deployments ahead. Set up your Sound Four bonuses, position expendable low-Chakra allies and then deploy Edo Tensei when the resulting withdrawals can create the biggest swing.

Strengths

  • Powerful Edo Tensei summon engine
  • Strong Sound Four synergy with Orochimaru
  • Can turn allied withdrawals into additional value
  • Edo Hashirama and Tobirama enter with Rush
  • Multiple ways to strengthen the next Orochimaru deployed
  • Strong tempo potential from a successful Edo Tensei setup
  • Hashirama and Tobirama can regenerate lost Chakra
  • Clear setup-to-payoff game plan

Weaknesses

  • Requires careful setup before deploying Edo Tensei
  • Edo Tensei targets your two lowest-Chakra allies
  • Poor timing can Weaken allies you wanted to keep
  • Hashirama and Tobirama need to remain available in the deck for the summon plan
  • Sound Four setup can take time
  • The deck is heavily dependent on Orochimaru for its biggest payoff
  • Deployment order matters significantly
  • Some hands may contain payoff cards before the required setup is ready

Matchup & gameplay notes

Pay close attention to the Chakra values of your allied cards before deploying Orochimaru – Edo Tensei. His Weaken(2) targets the two allies with the lowest Chakra, so you should know exactly which cards are likely to be affected before committing him.

Naruto Uzumaki – Defenseless and Kaiza – Martyr are good cards to consider when preparing an Edo Tensei turn because their withdrawal effects can generate additional value. However, do not assume that deploying Edo Tensei will automatically make them withdraw; their current Chakra and the rest of your board still matter.

Try to keep Hashirama Senju – Edo Regeneration and Tobirama Senju – Edo Regeneration in your deck until you are ready to use Edo Tensei. Drawing or deploying them normally can reduce the potential value of Orochimaru's summon effect.

Do not wait indefinitely for all four Sound Four bonuses. Jirobo's Chakra, Kidomaru's Rush, Tayuya's Guard and Sakon's Weaken are all useful, but sometimes an earlier Edo Tensei deployment will create more pressure than spending additional time building the perfect Orochimaru.

Think carefully before deploying Orochimaru – Guarded. Because the Sound Four effects prepare your next Orochimaru, using the cheaper Orochimaru at the wrong moment may consume setup that you intended for Edo Tensei.

When Edo Hashirama and Tobirama are successfully summoned, their Rush(3s) gives you an immediate opportunity to turn your sacrifice setup into offensive pressure. Their Edo Regeneration then gives them a way to recover Chakra if they fall below their base values.

Against aggressive decks, you may need to use your setup cards earlier instead of waiting for the ideal Edo Tensei turn. Against slower decks, you have more freedom to assemble Sound Four bonuses and prepare your low-Chakra allies before committing Orochimaru.

Gameplay video